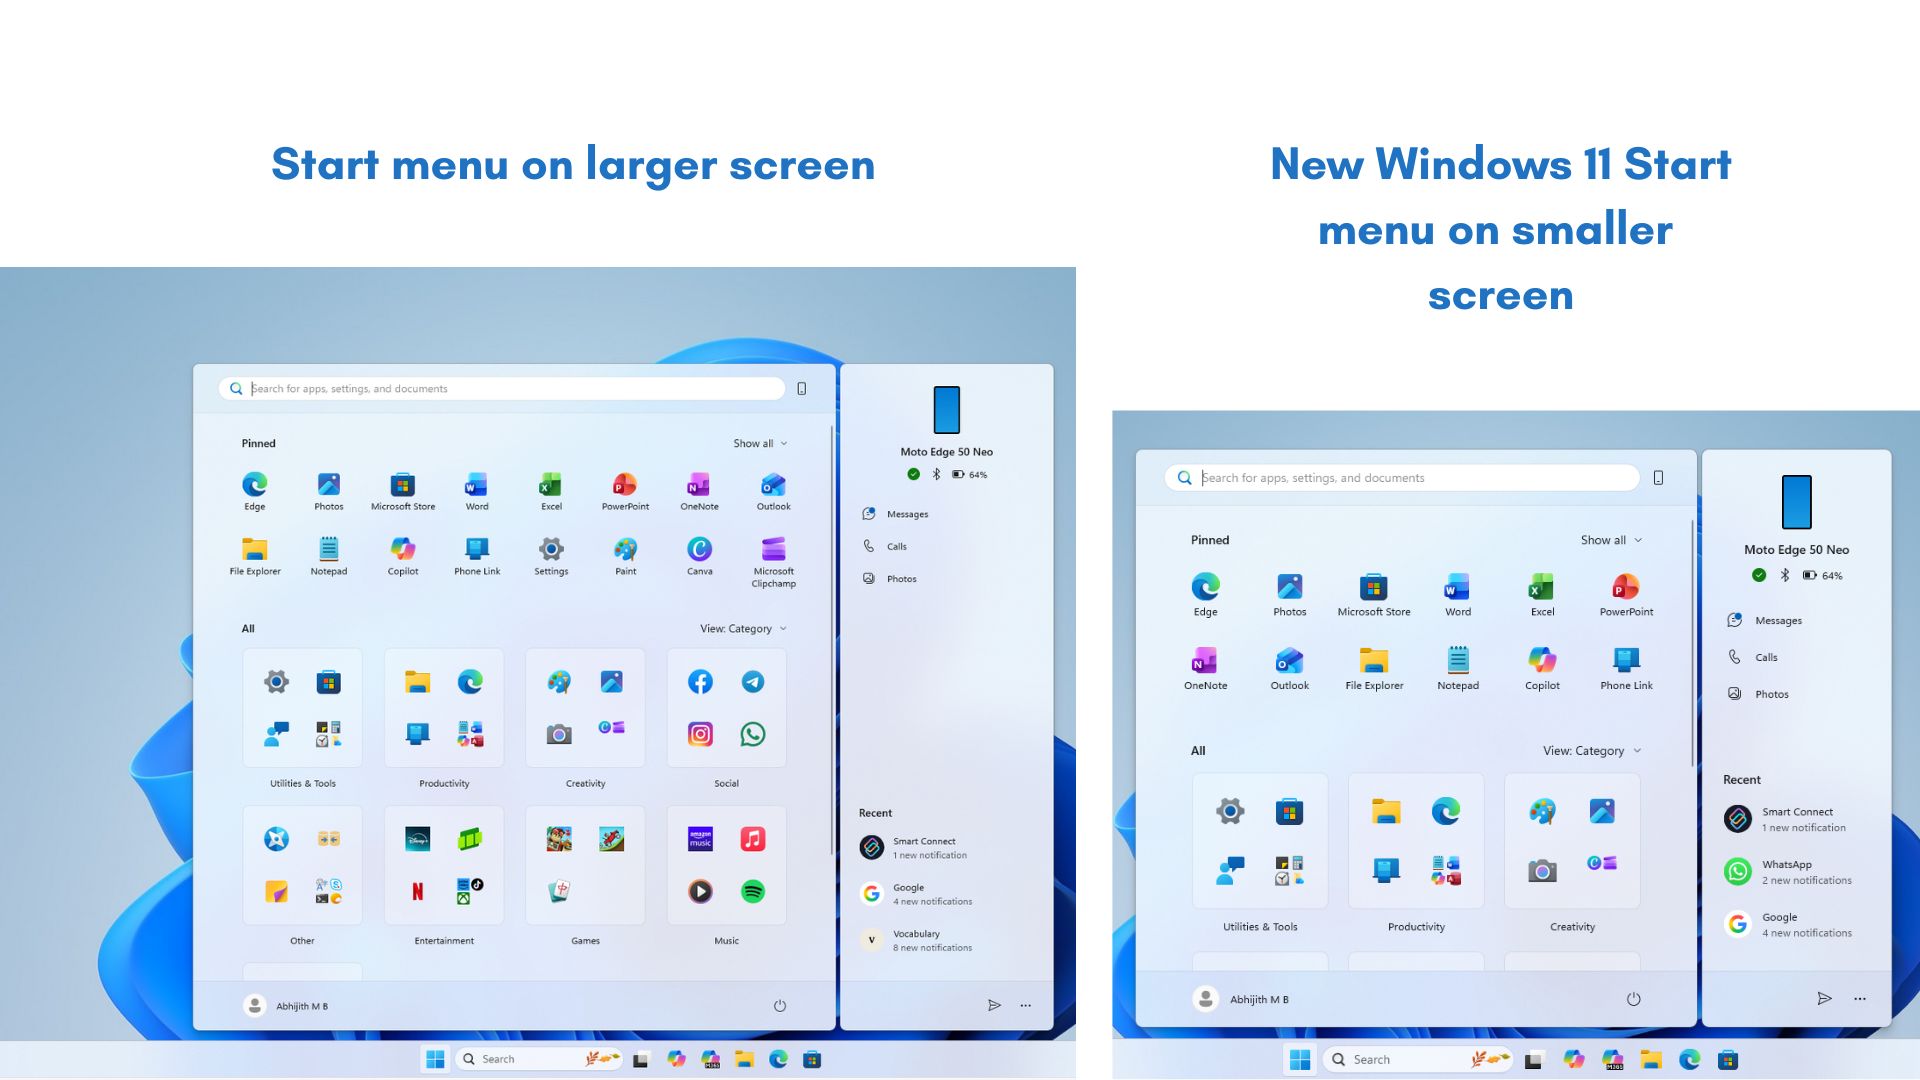
Windows 11’s Start menu just got a big redesign for the first time since 2021. There is a new categories layout, a new Phone Link panel tucked to the right side of the Start and more. However, the catch is that the feature is rolling out slowly. This means the new Start menu won’t show up even if you install all updates, but there’s a way to force-enable it.
The new Start menu is available in Windows 11 Build 26200.7019, 26100.7019 or newer, but as I mentioned, it’s turned off by default for most users. Microsoft calls it a strategic move because a slower (staged rollout) allows the company to pause the release if the feature causes issues for early adopters.
If you can’t wait, you can use a third-party tool called ‘ViVeTool,” which allows you to force enable the redesigned Start menu.
What is ViVeTool?
How to enable the new Start menu in Windows 11?
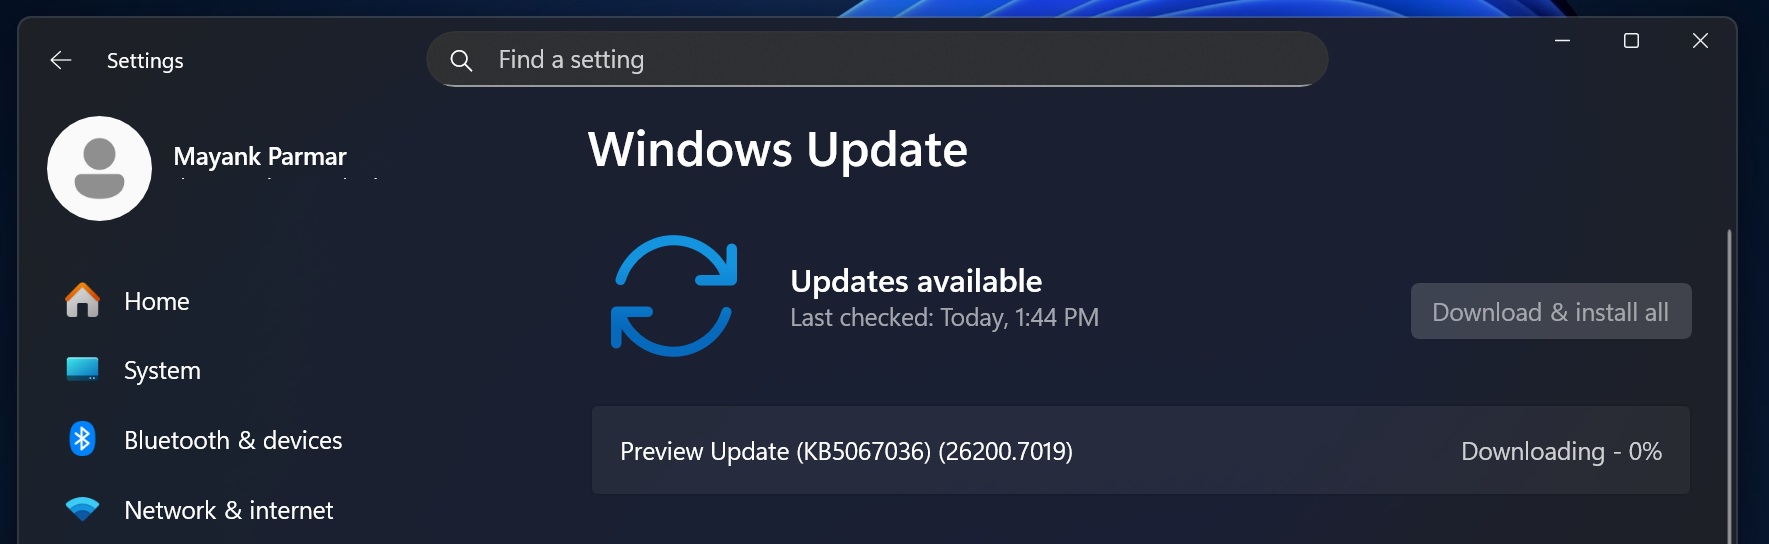
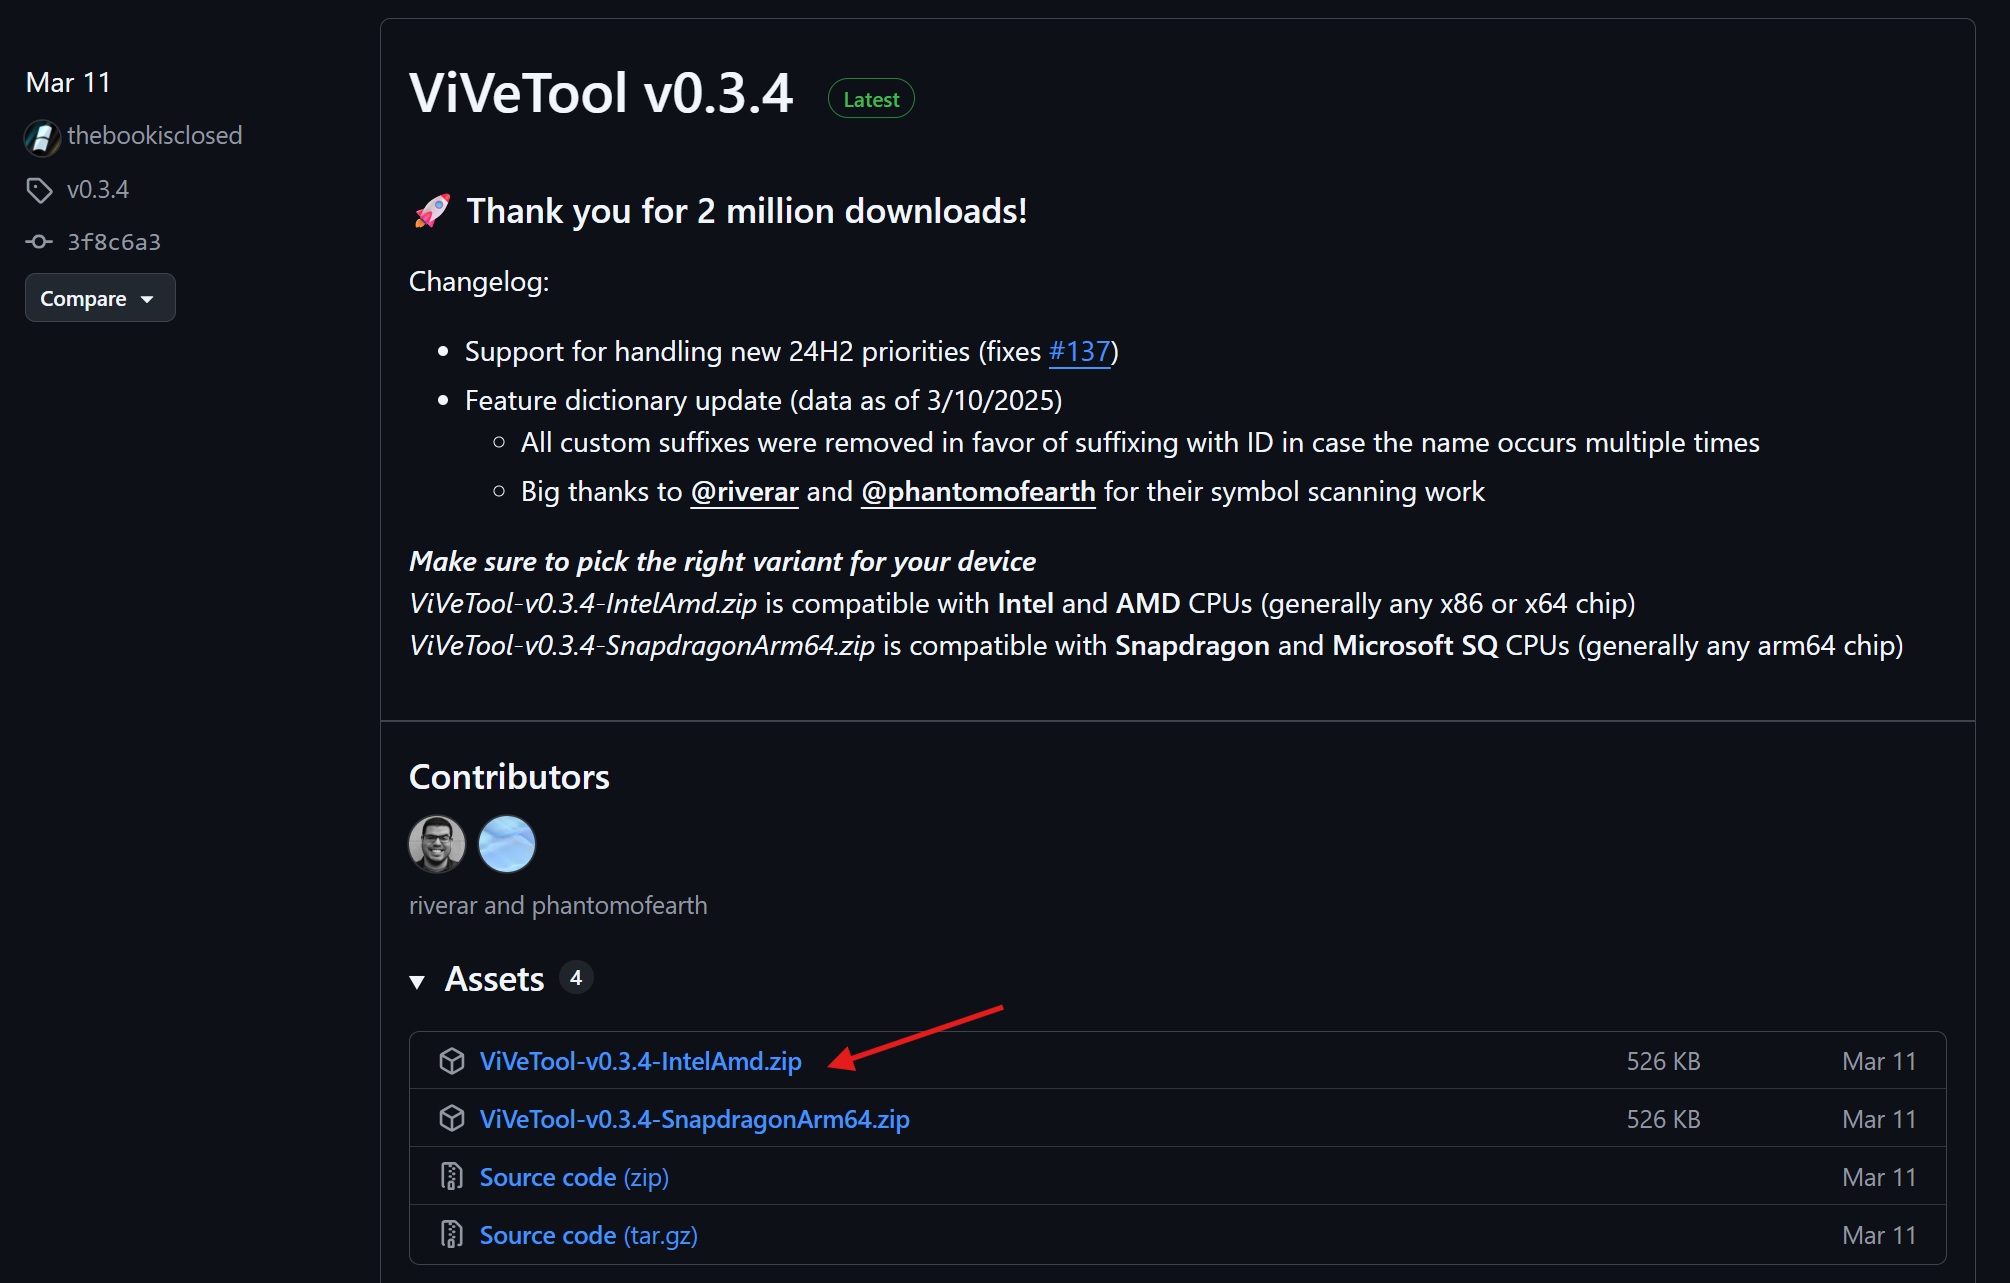
Firstly, download the latest October optional update Windows 11 KB5067036. Then download the Vivetool package from GitHub and extract the contents to a folder.
Name the folder Vive and then copy it into the C drive. You can use another drive location, but I prefer C for convenience. Then repeat the following steps:
- Make sure Build 26200.7019 or 26100.7019+ is installed. Verify it from Settings > System > About.
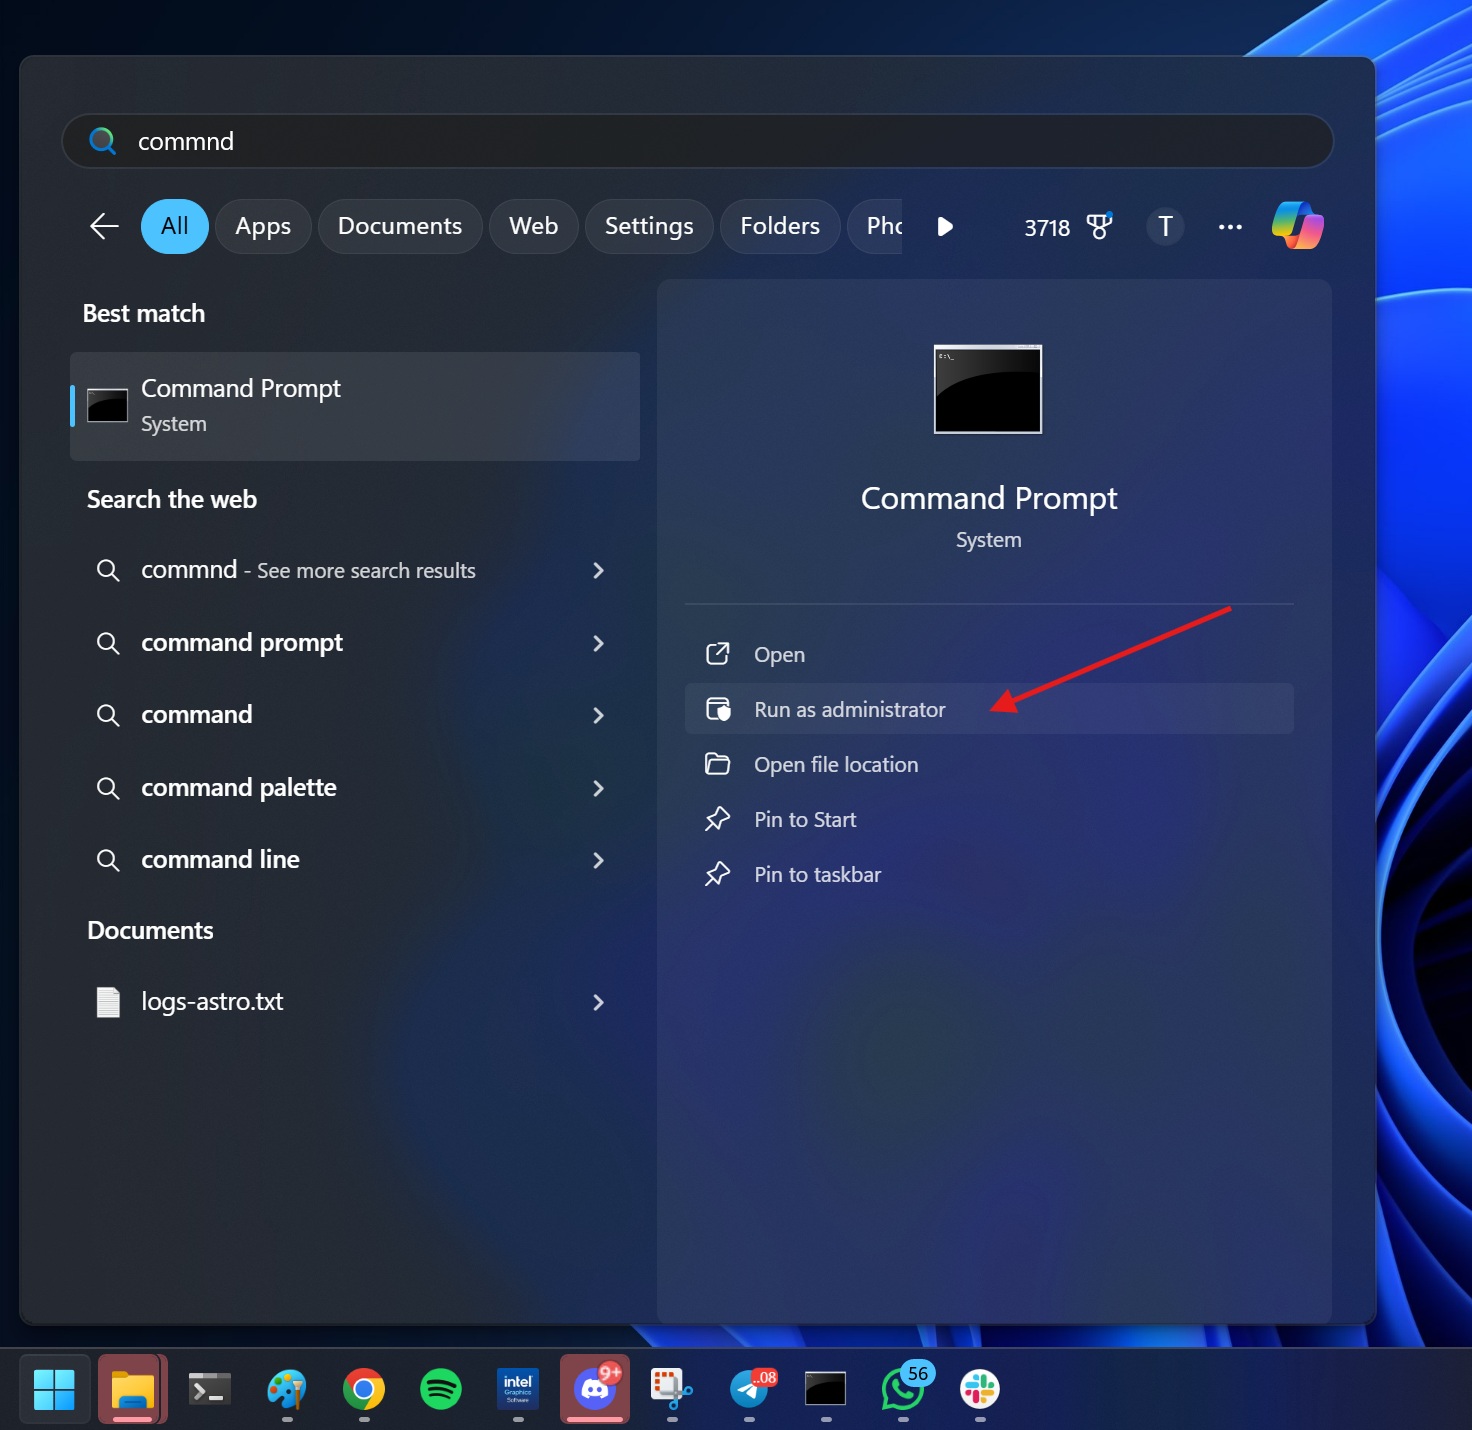
- Open a Command Prompt window with administrator privileges.
- Open the folder where you’ve extracted/saved ViVeTool. Copy the path from the address bar.
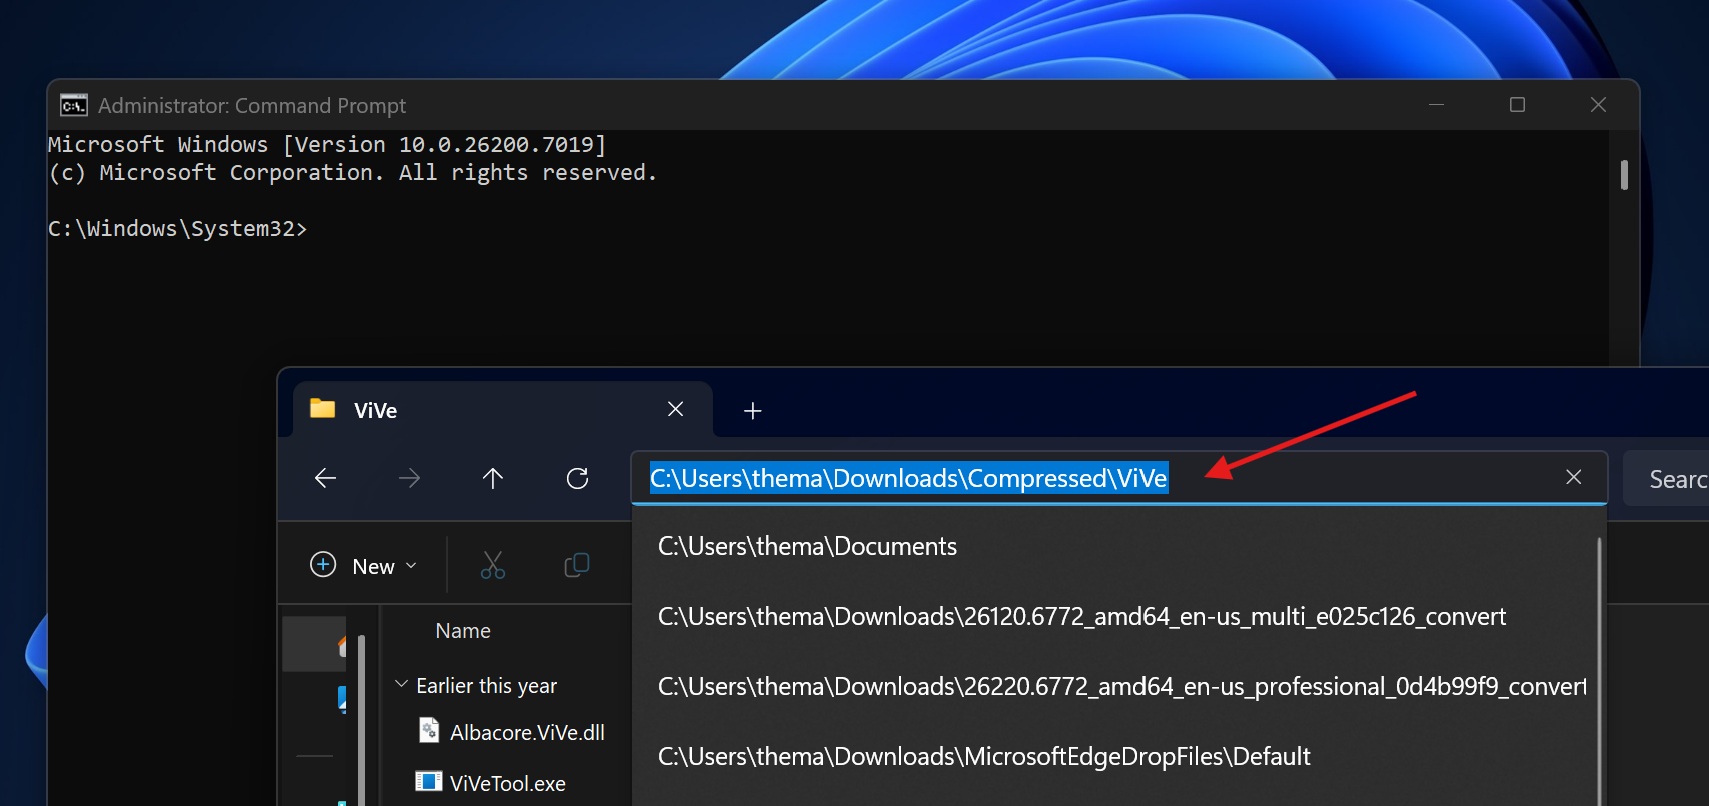
- In Command Prompt, type cd path_location and press Enter to navigate to the location where ViVeTool is saved.
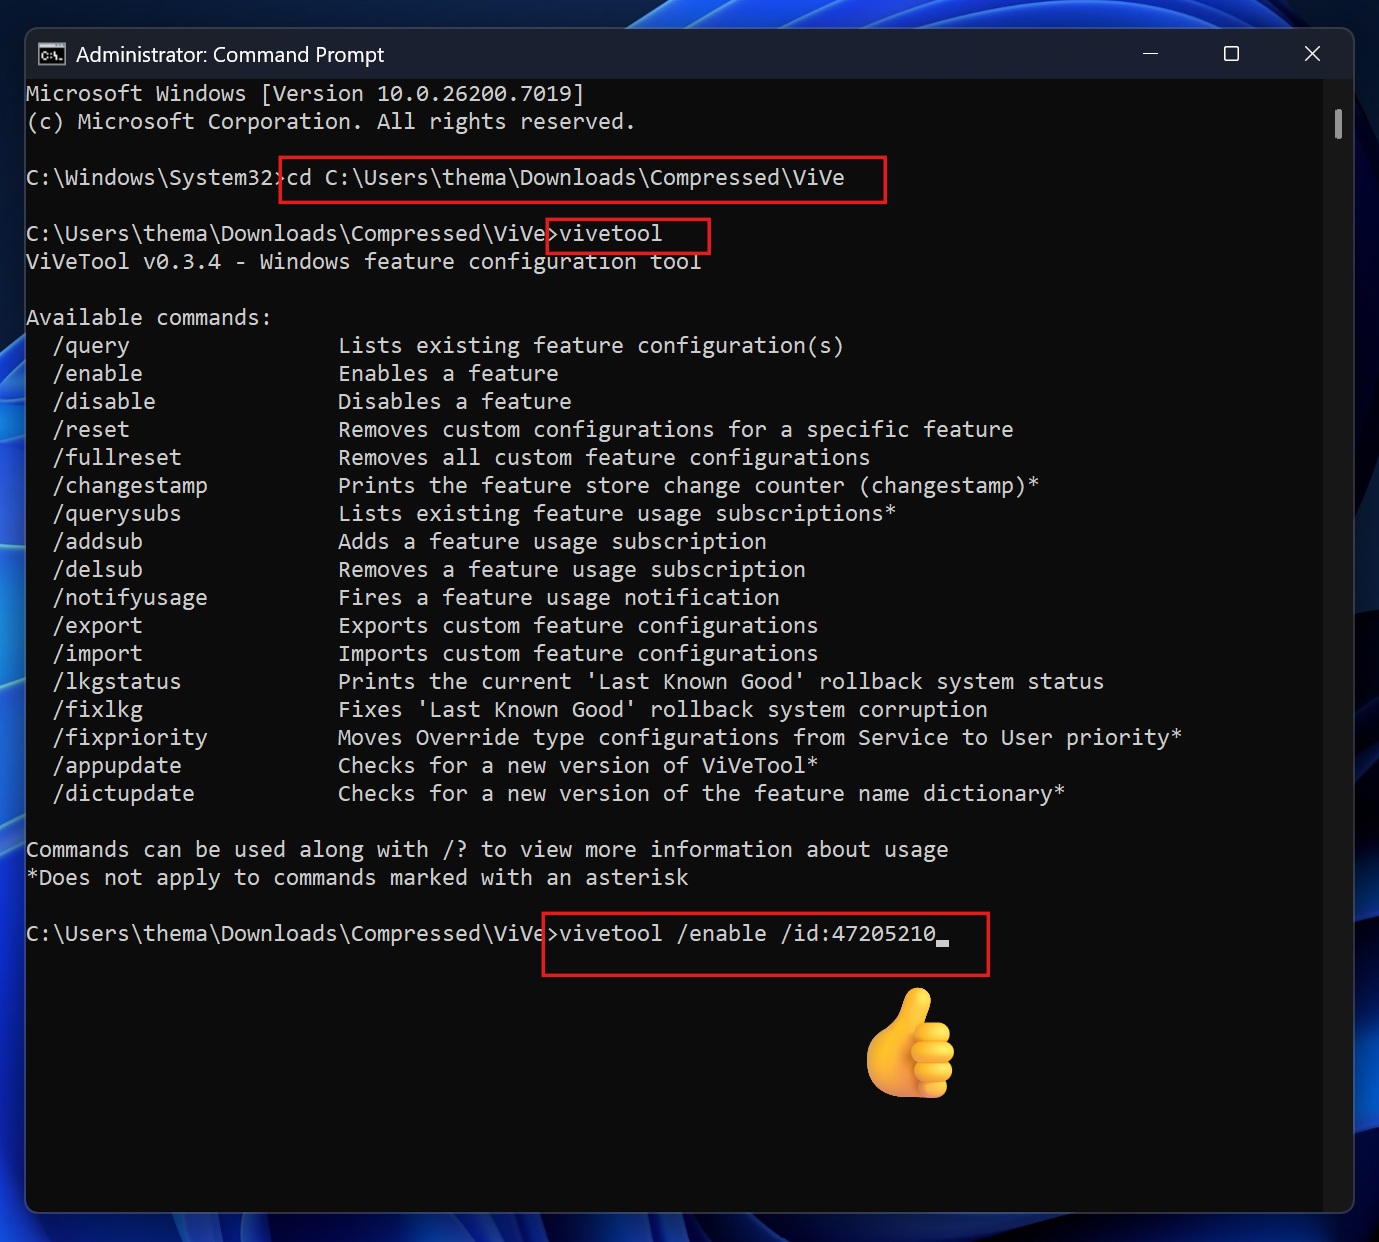
- In Command Prompt, Type vivetool and press Enter. If you are in the correct location, you’ll see some details related to the tool in the output.
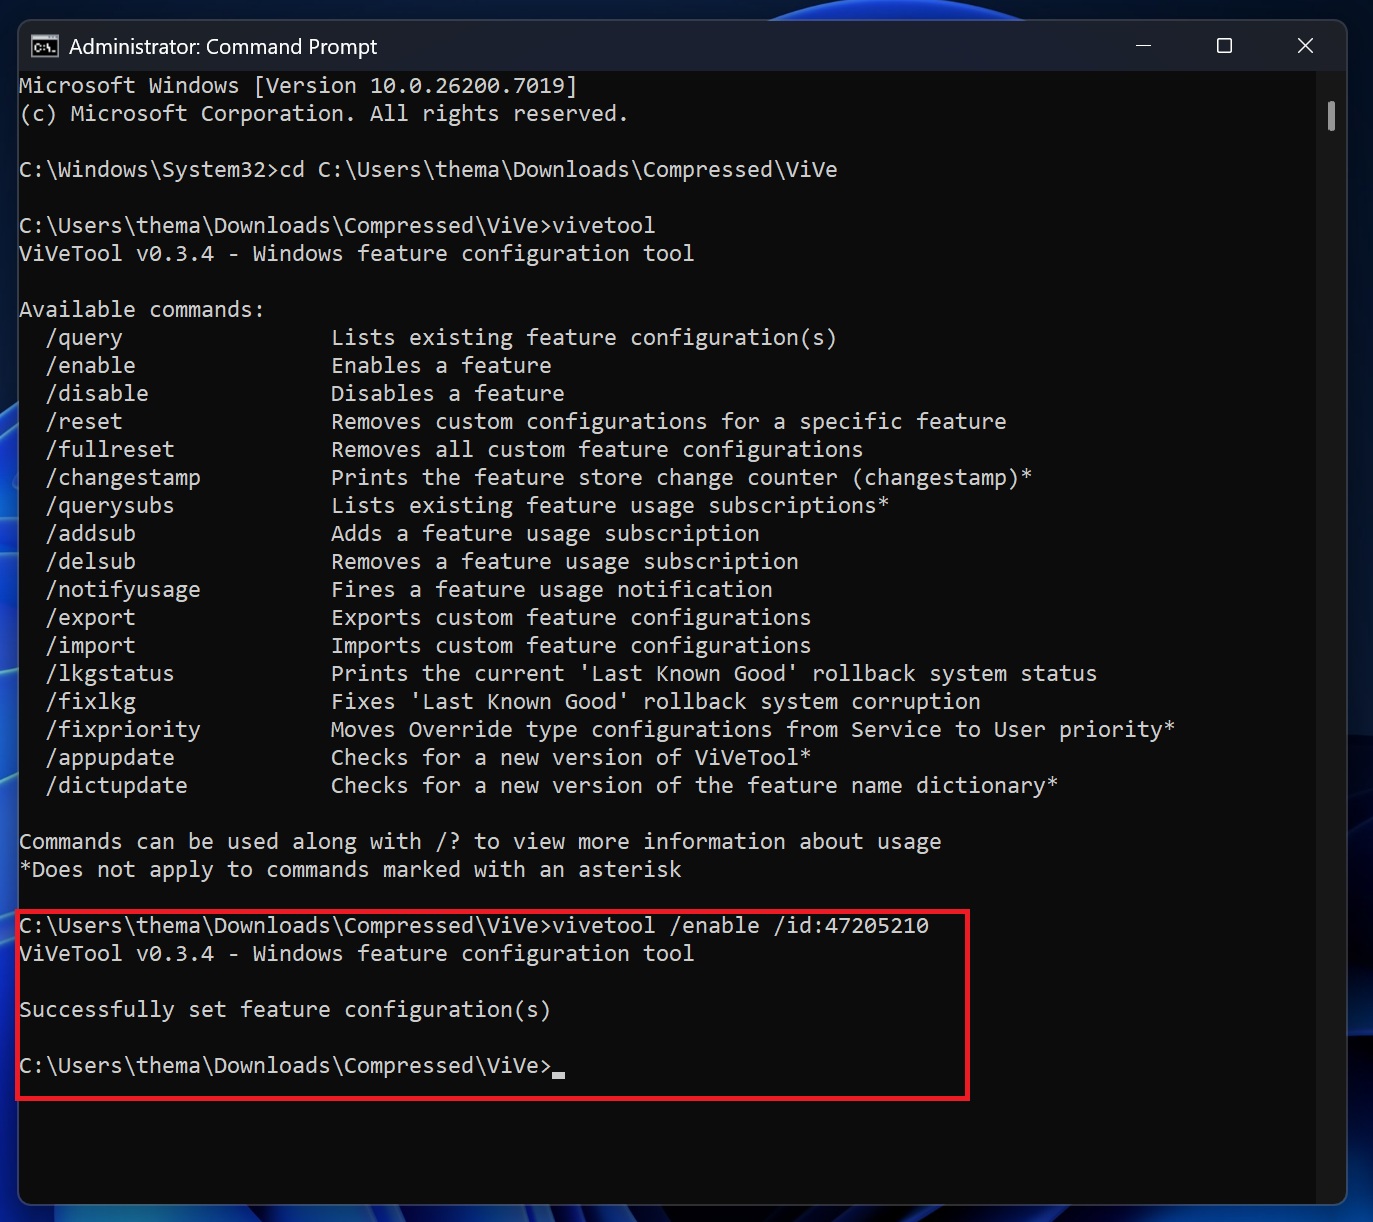
- To enable the Start menu, type and enter vivetool /enable /id:47205210
- Restart Windows.
After reboot, you’ll see the new Start menu.
If you want to restore the default (old) Start layout, use vivetool /reset /id:47205210.
New Start menu versus the old Start menu and Windows 10’s Start menu
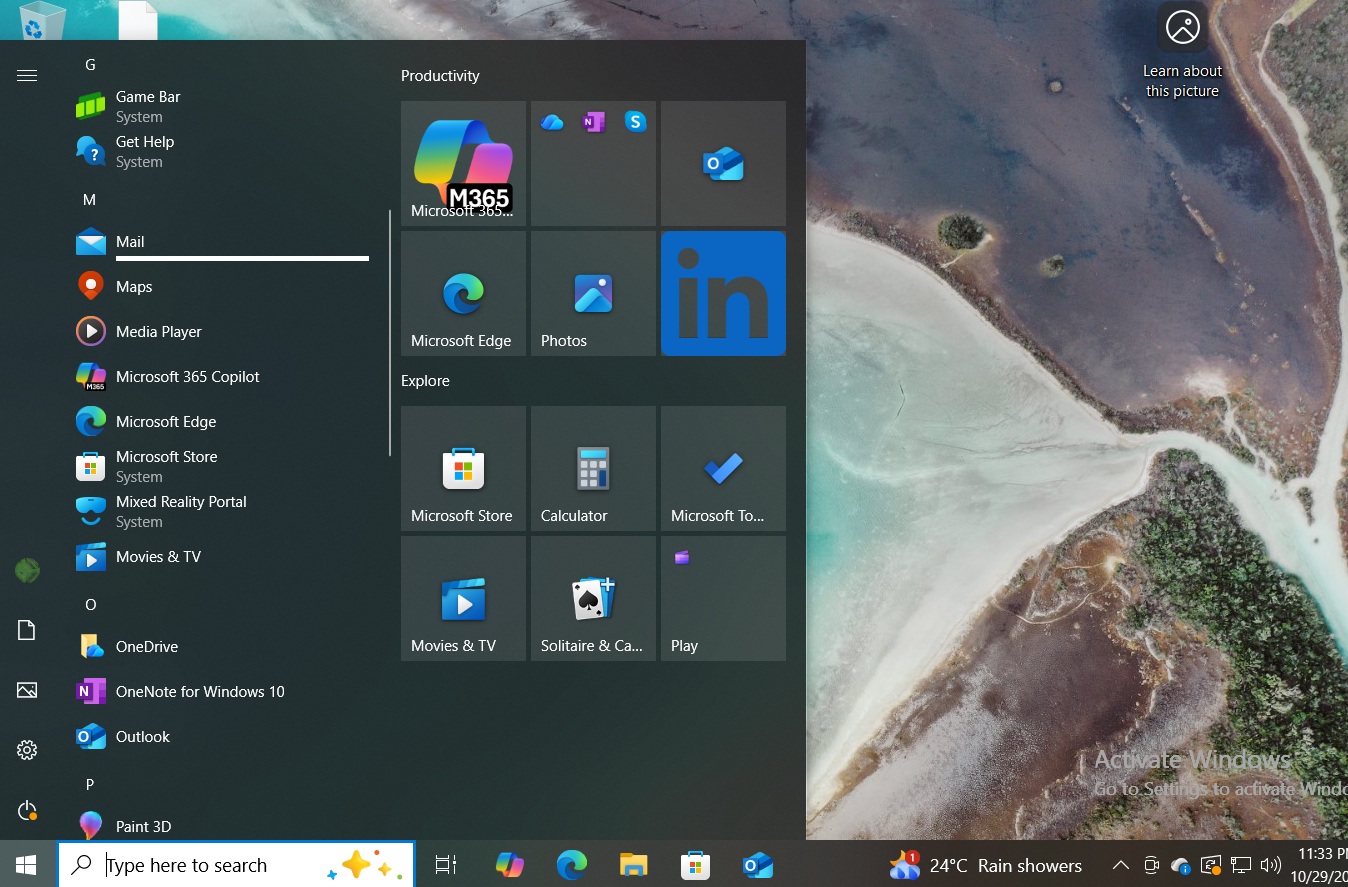
Before pointing out the obvious flaws in the Windows 11 Start menu, let’s draw a quick comparison with Windows 10’s design.
The former OS had a single-page menu design with the Windows 8-style tiles on the right-hand side. It wasn’t pretty by today’s “mobile-first” standard, but it was at least functional.
Windows 11 split the Start menu into two halves. The first section contains all your pinned apps, as well as the Recommended section.
Most users dislike the Recommended section because it’s a waste of space as it often repeats the information already available via the taskbar (jump list > recent files) or File Explorer’s Home tab.
The second section of the Start menu contains the list of all installed apps. To access it, you must click the All button in the top right corner. Those who upgraded from Windows 10 aren’t a big fan of the idea because it requires an additional click before you could see the long list of installed apps.
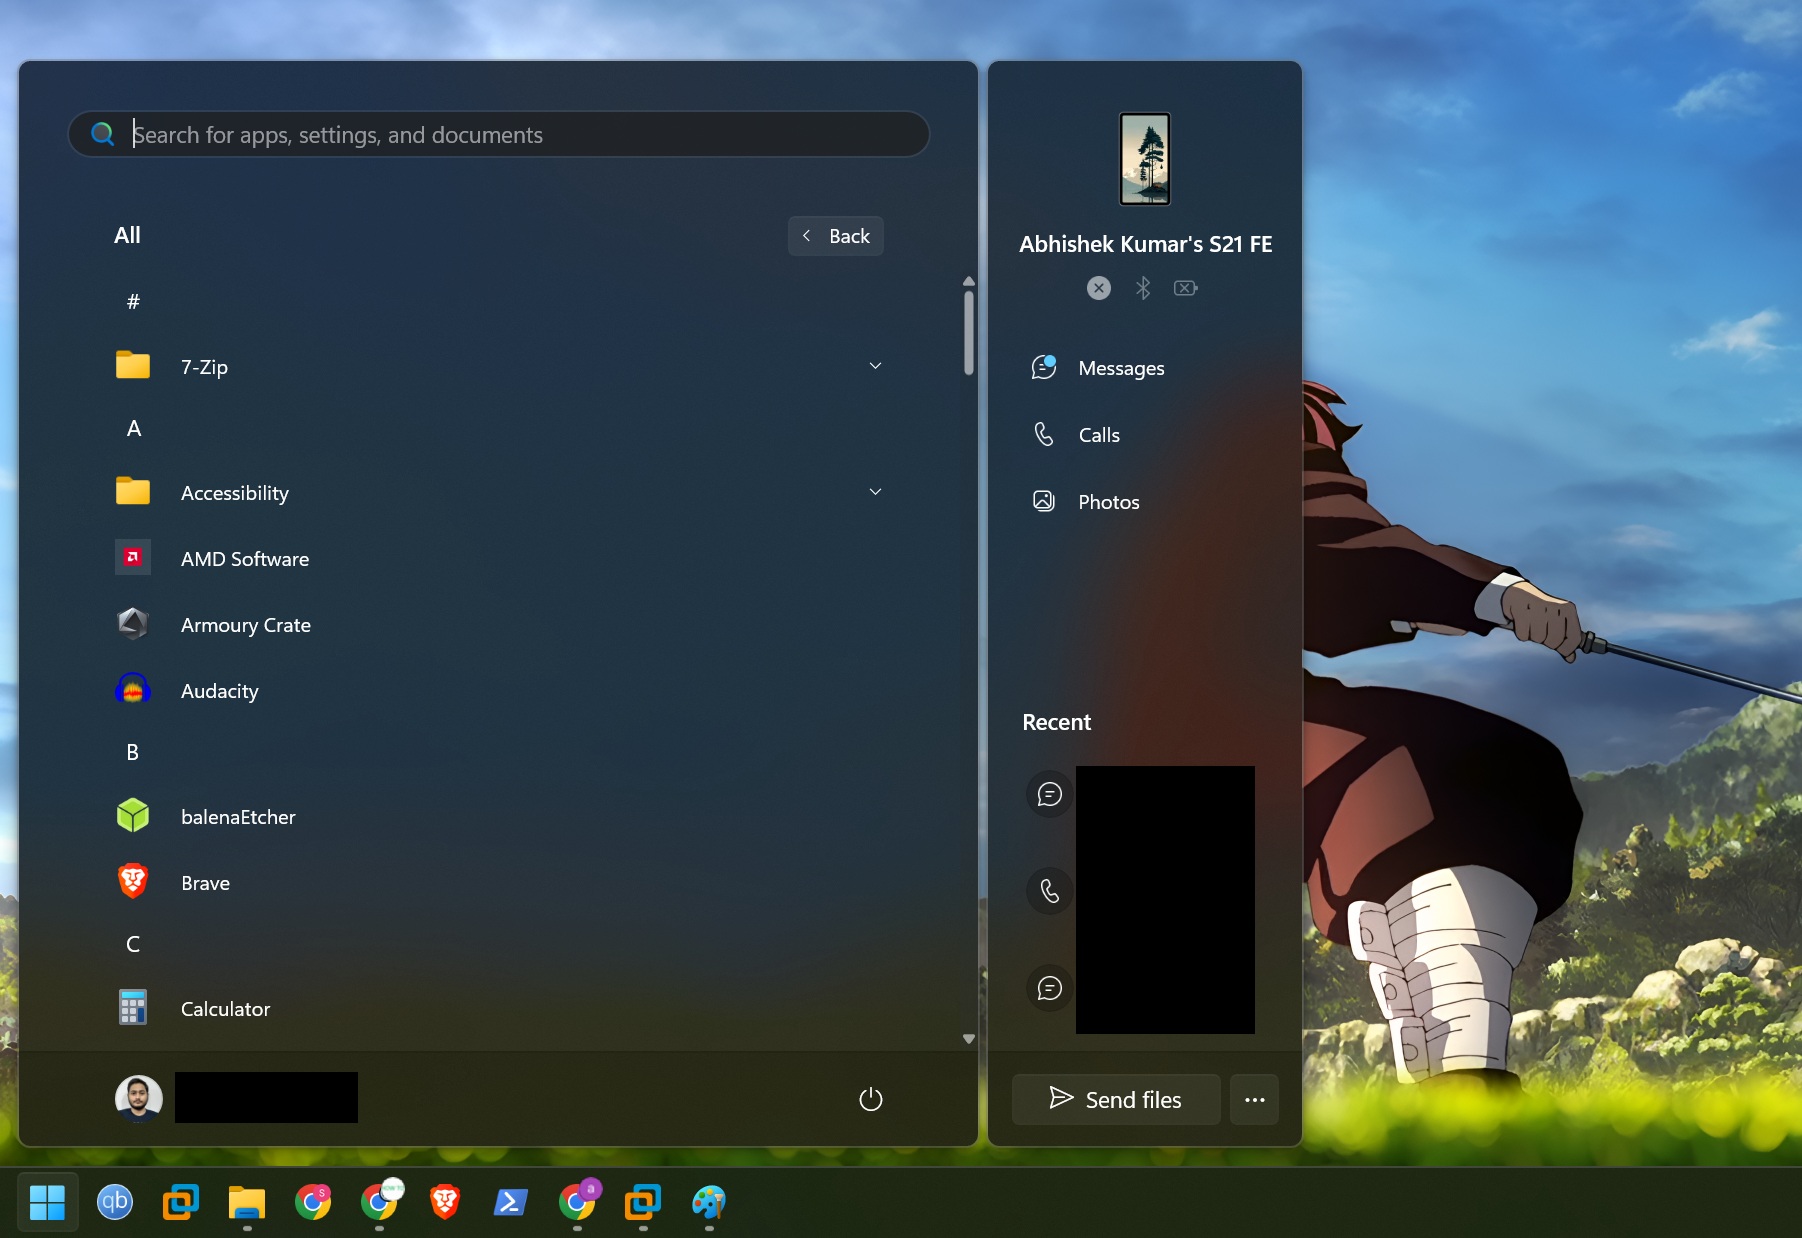
Meet the new Start menu
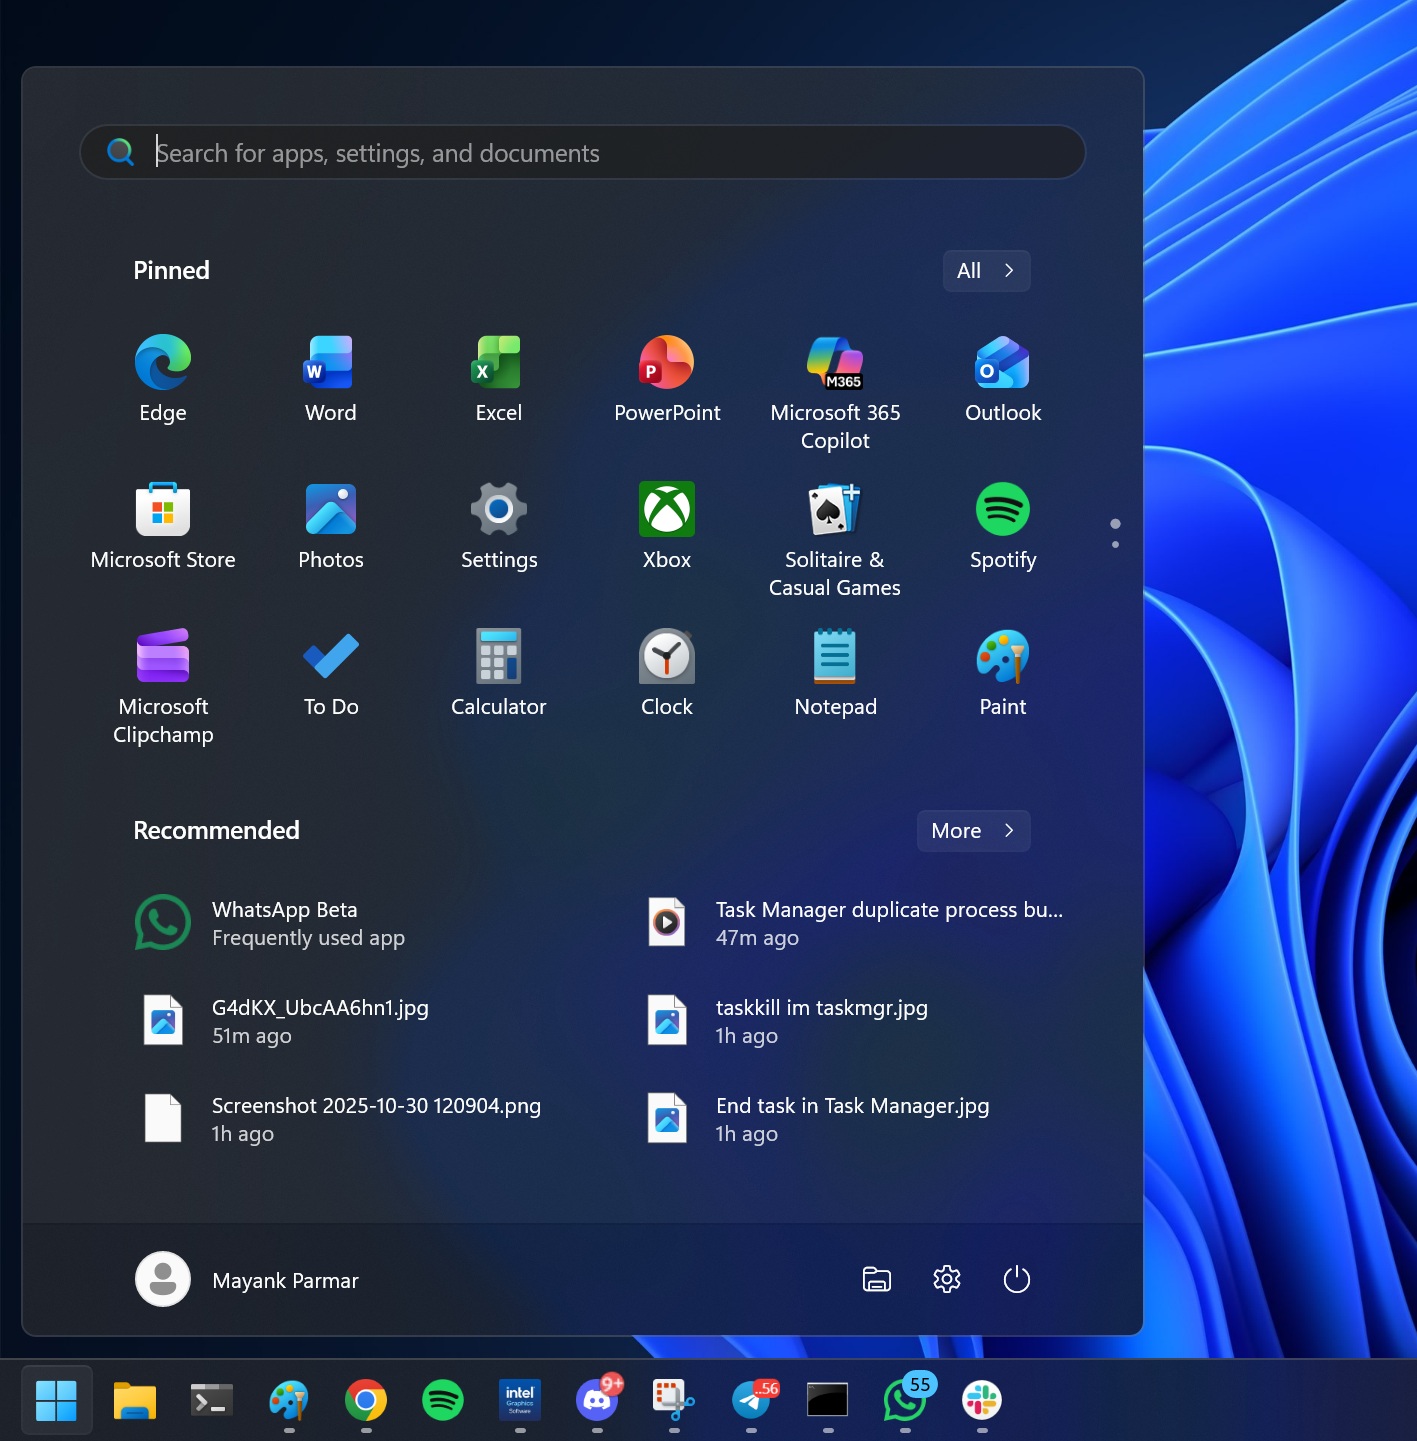
Windows 11 brings back the single-page layout. You get the collapsible Pinned apps section at the top, followed by the recommended section, and then the All section with multiple layout options.
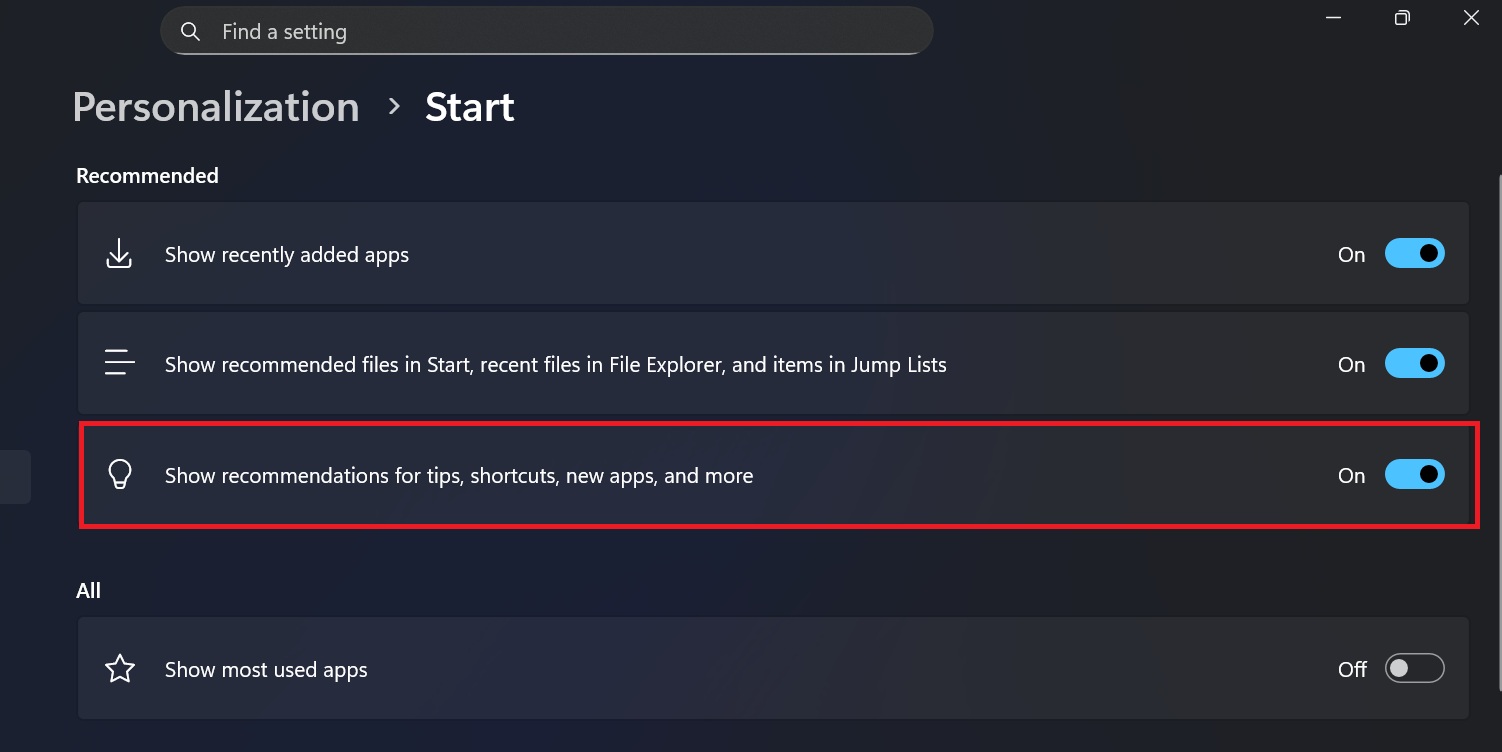
I love this approach because everything is consolidated in one long scrollable page. You can also hide the Recommended section completely, which wasn’t possible until now. Even after changing the setting, the Recommended section used to appear in older versions.
The last part is where you must pay the most attention. You get a completely new All apps section, which now offers Category, Grid, and List options. Earlier, only the list option existed and was a nightmare for anyone trying to find an app from the long list.
Adding the Grid option minimizes this problem to some extent because the Start menu uses the horizontal space that was previously vacant. But if you want the best experience and minimal scrolling, I suggest using the Category layout.
It automatically groups apps related to specific niches, such as Productivity, Tools, and more. It even has nested folders (folders inside folders), so all related apps can appear in one box.
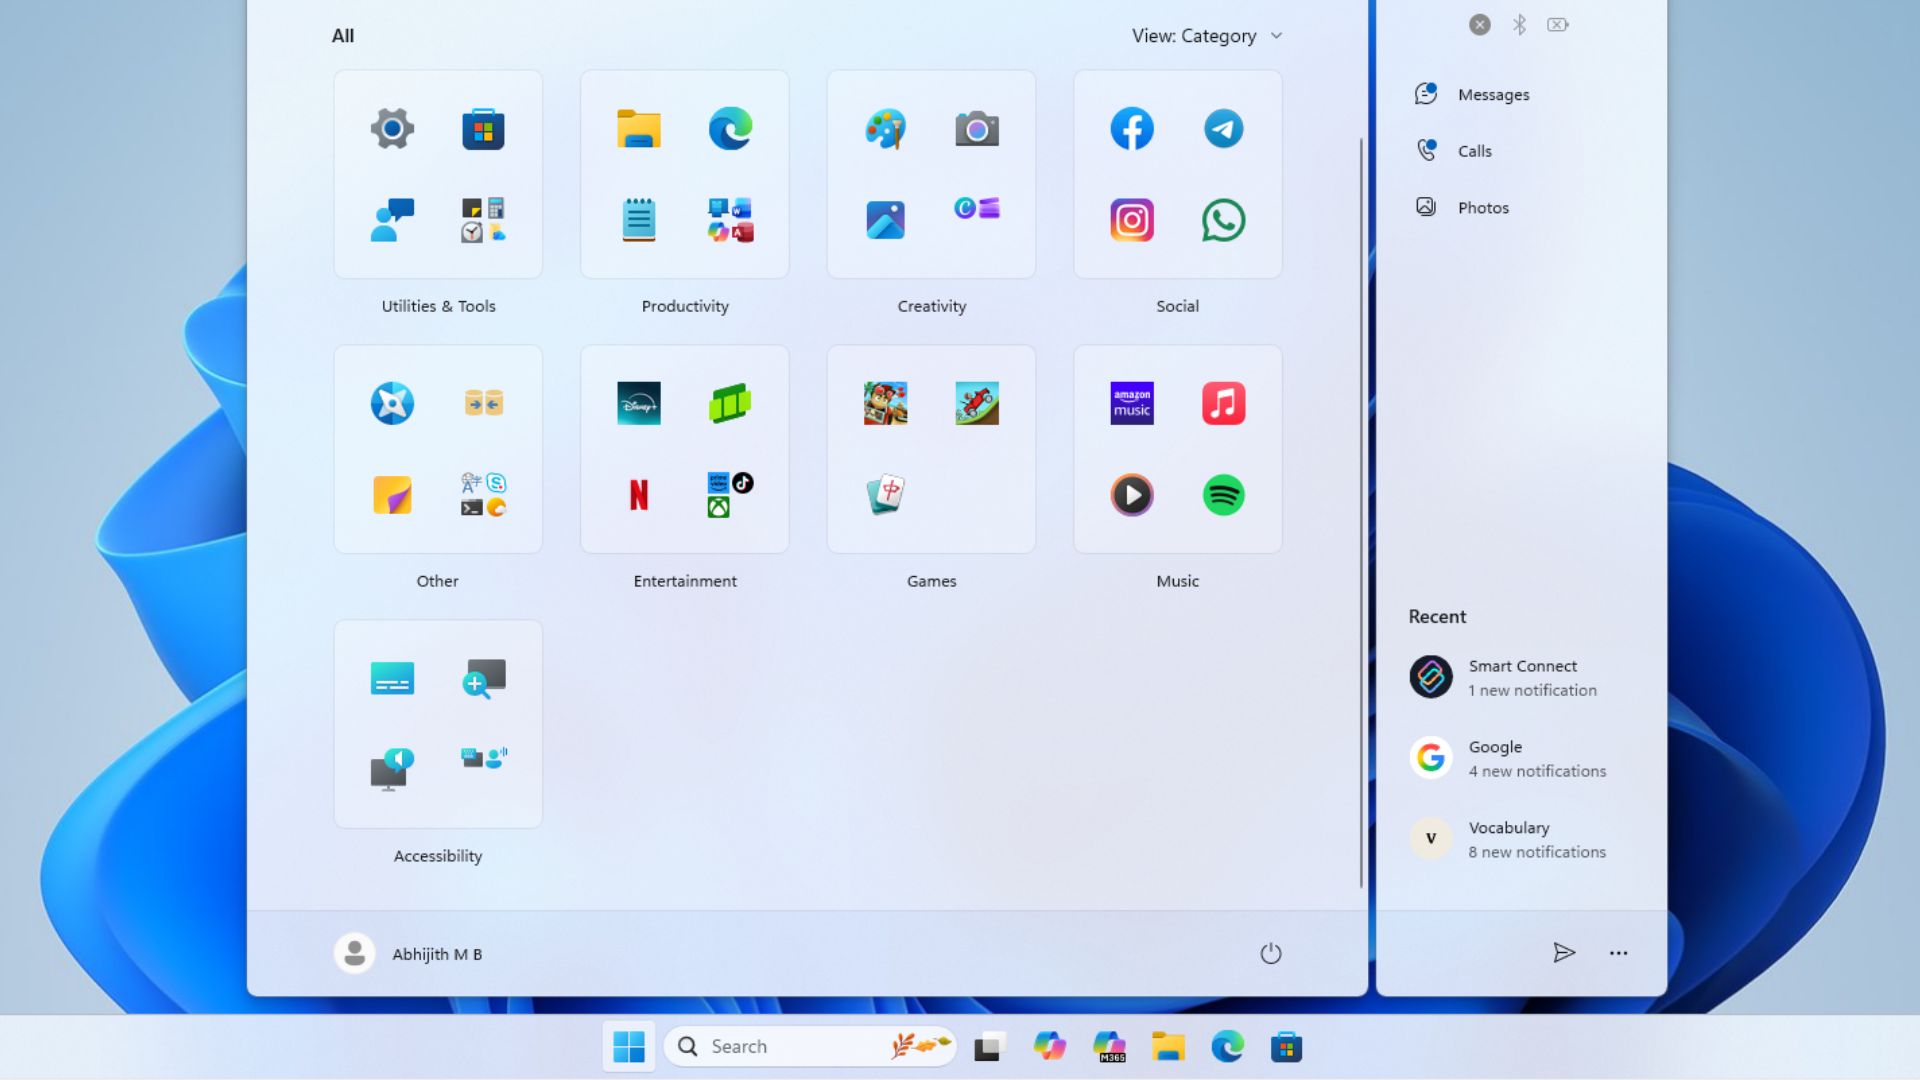
You cannot create new categories as of now, but I suppose it must be on Microsoft’s agenda to add it in the future.
After all, creating new folders for app icons is common on Android phones, and I don’t see it as a big challenge for developers. Adding a custom folder and a manual app icon placement option can give you more freedom to build customized app categories for the Start menu.
Do you like the new Start menu? Let us know in the comments below.
The post Force enable new Start menu in Windows 11 25H2 and 24H2 if it doesn’t turn on automatically appeared first on Windows Latest